
How to add an AI chatbot to any website in one line of code
The chat bubble is one script tag. The only real question is where your website builder wants you to paste it. Here is the answer for the usual suspects.

Every askAgent chatbot is added to a website the same way: one <script> tag, pasted once, that loads the chat bubble on every page. You don't install an app, you don't touch your theme's design, and you can remove it again by deleting that one line.
1. Copy your snippet
In your dashboard, open your chatbot and go to the Embed code tab. You'll see a line that looks like this, with your own bot ID in it:
<script src="https://askagent.live/widget.js" data-bot-id="b_7f3k2q" async></script>The async attribute means the bubble loads after your page does, so it never slows down what your visitors came to see.
2. Paste it before the closing body tag
The snippet belongs just before </body>, on every page you want the bubble to appear. Most site builders have a dedicated box for exactly this, usually called "custom code", "code injection" or "footer code".
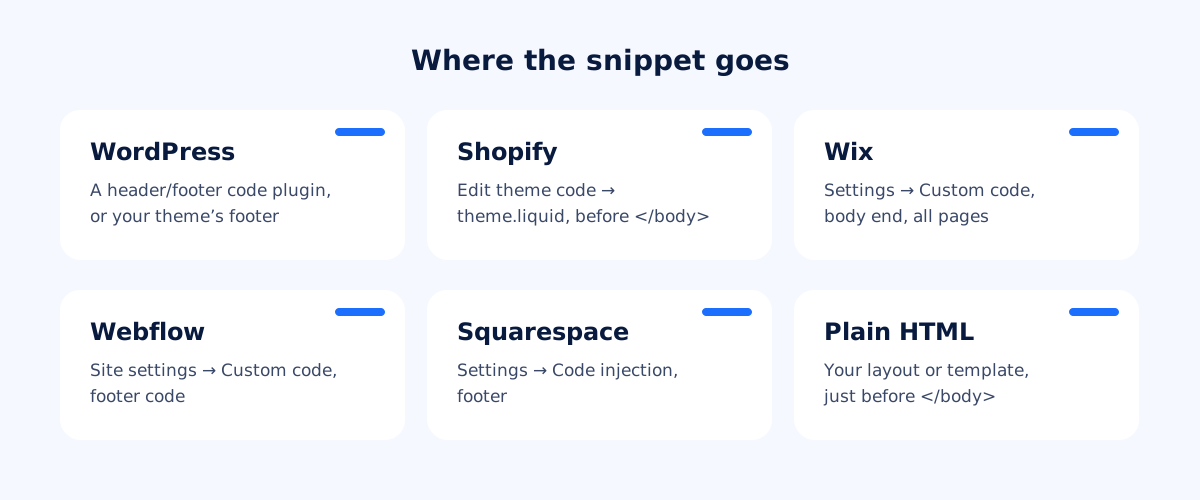
- WordPress: the simplest route is a header-and-footer code plugin, which gives you a "footer" box that survives theme updates. If you'd rather not add a plugin, a child theme's
footer.phpworks too. - Shopify: Online Store → Themes → Edit code, open
theme.liquidand paste the line just above</body>. - Wix: Settings → Custom code → Add code. Choose "Body – end" and "All pages". Wix only allows custom code on sites connected to a domain.
- Webflow: Site settings → Custom code → Footer code, then publish. Custom code needs a paid site plan.
- Squarespace: Settings → Developer tools (or Advanced) → Code injection → Footer. Available on plans that include code injection.
- Hand-written HTML: put it in your shared layout or template, just before
</body>, so every page gets it.
3. Allow your domain
Your agent only answers on the domains you list in its settings. That stops someone from copying your snippet onto their own site and running up your chat count. Add every address your site uses, for example both example.com and www.example.com, plus a staging domain if you test there first.
Before you announce it: three quick checks
- Ask it your top five questions. Opening hours, prices, delivery, returns, how to book. If one answer is missing, add the document or page that contains it.
- Try it on your phone. On small screens the chat opens full-screen, which is how most of your visitors will see it.
- Write in another language. Ask one question in Spanish or Arabic. Your agent should reply in that language, from documents written in yours.
That's it. From here, the useful habit is checking the Unanswered report once a week: it tells you exactly which questions your website doesn't answer yet.


